Morialta Top Side Route Guide
The Morialta rock climbing area in Adelaide is well described in two excellent printed guides, but unfortunately placing top ropes is a bit tricky because many of the instructions are "start two metres left of some other climb". There is also scant information on how and where to set up top ropes.
My project is to very slowly photographically document top rope setup positions as I or friends do them.
Corrections and updates will be very cheerfully accepted! Let me know if I have completely muddled any of these up.
Billiard Table
Billiard Table
At the city end of Billiard Table is Billiard Table itself.
Fascination
Fascination is set from these bolts. This climb is set for the left hand finish variant (21) - set it another metre or more toward the city for the 19.
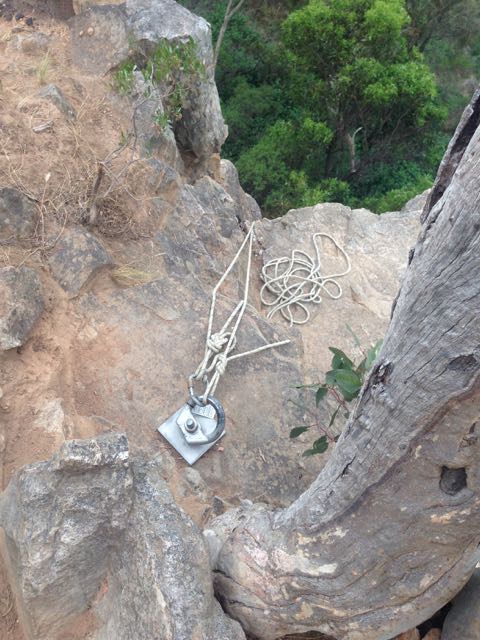
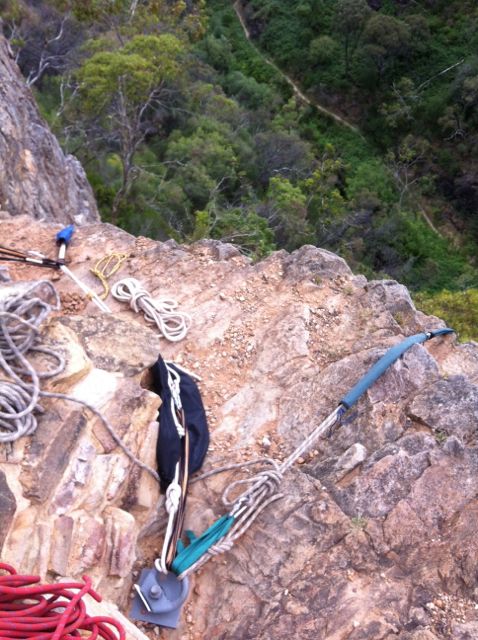
Romper Room
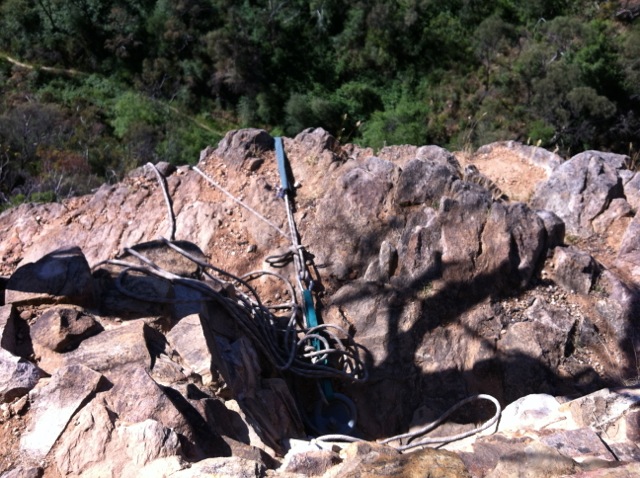
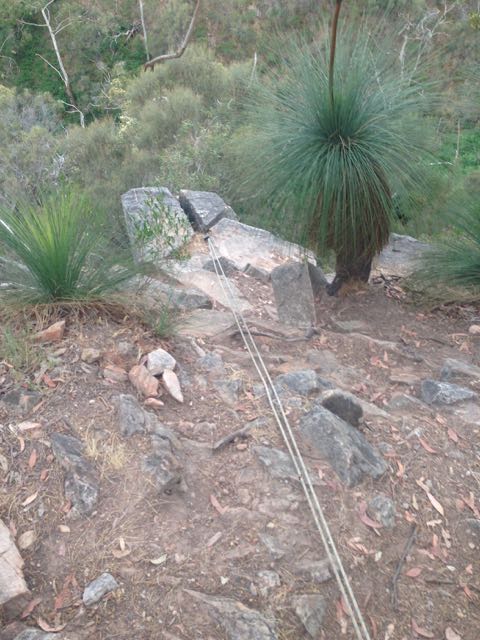
Romper Room is a decent climb, but difficult to set. Place your carabiners very far below the flake - perhaps three metres down - or else your rope will rub on sharp rocks. Rarely top roped.
Gang of Four, not yet pictured, is set from the same ring, but goes over the tree trunk and down to the right.
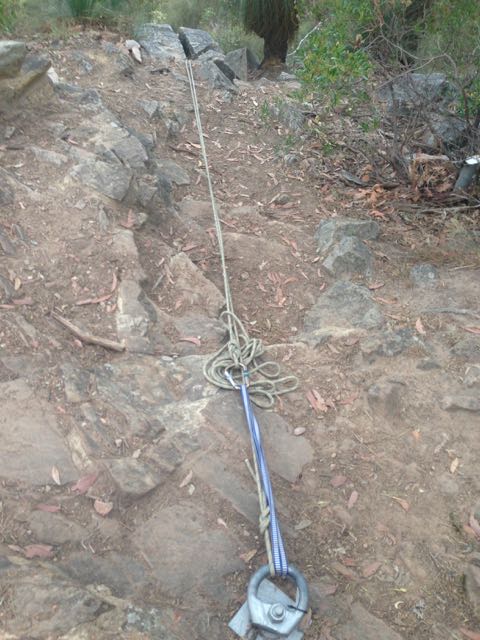
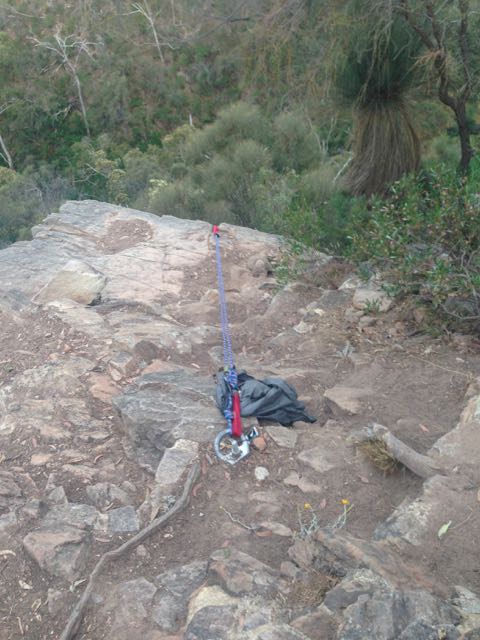
Dropout
Dropout. Set from the same ring as Gang of Four and Romper Room.
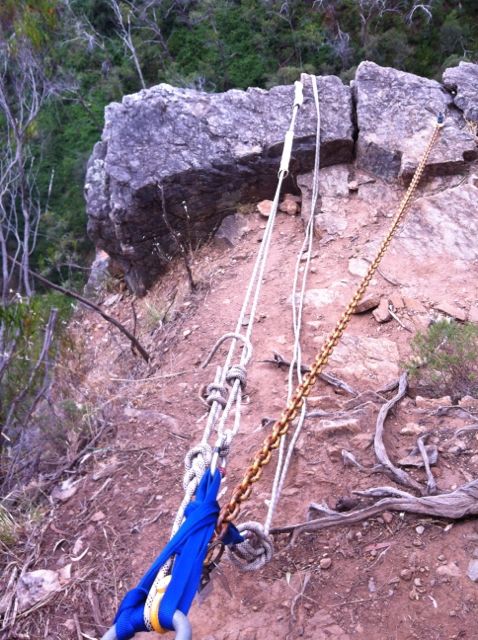
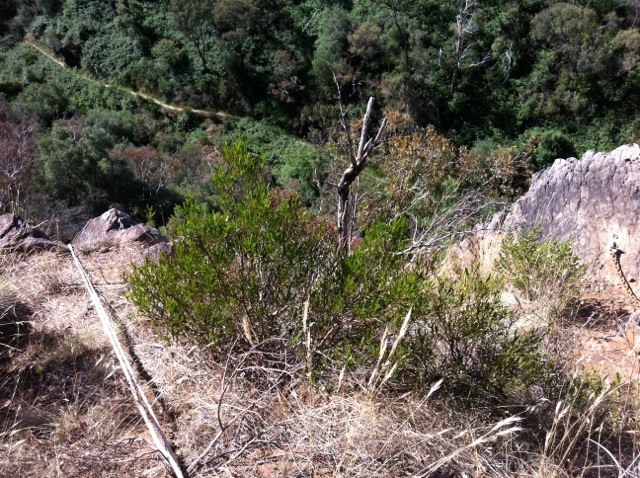
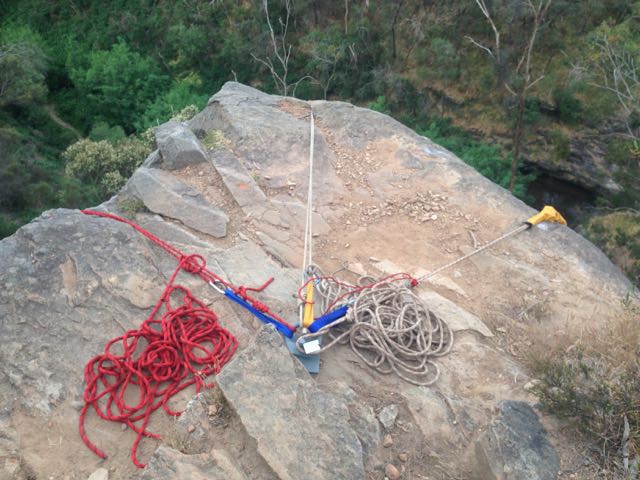
Up the Baize

Up the Baize, pictured here with elaborate three-tree setup, is well worth the effort.
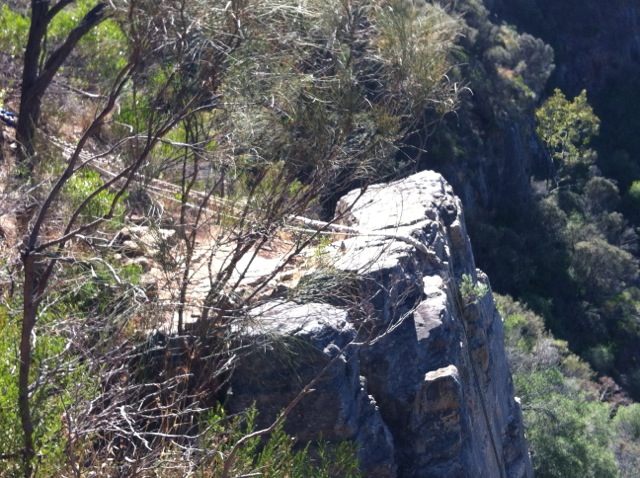
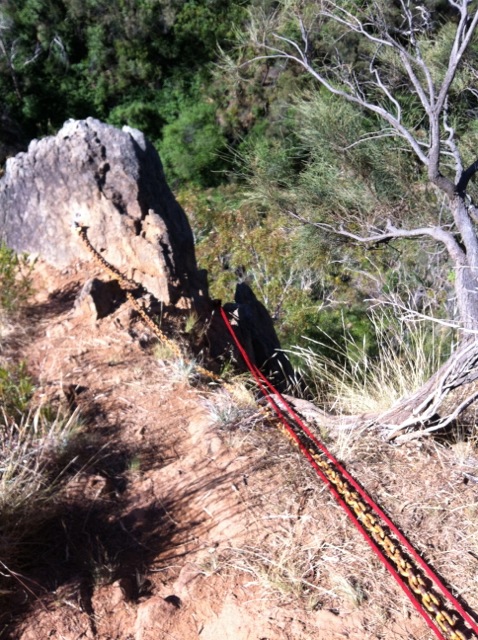
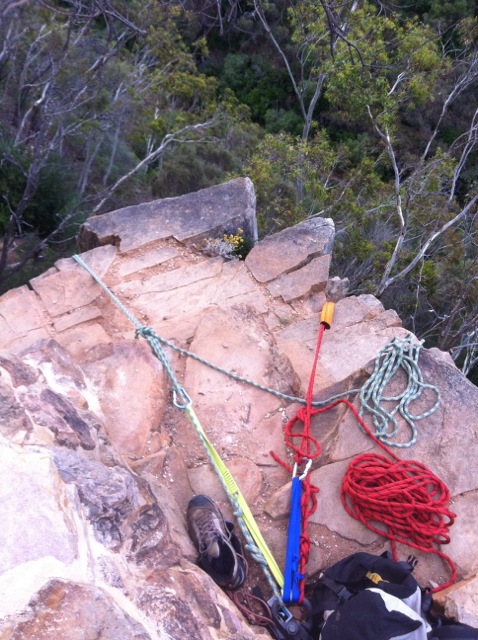
The Hustler, Popular Miss Conception
The Hustler descends over the cliff at the left of the picture. The rope on the right is Popular Miss Conception.
Popular Miss Conception, at the hills end of Billiard Table.
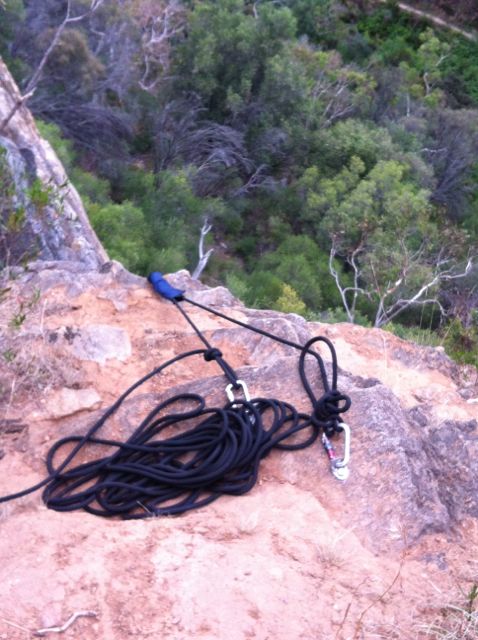
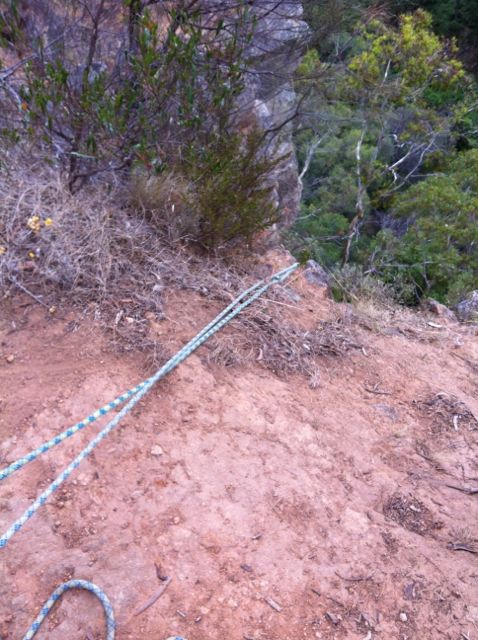
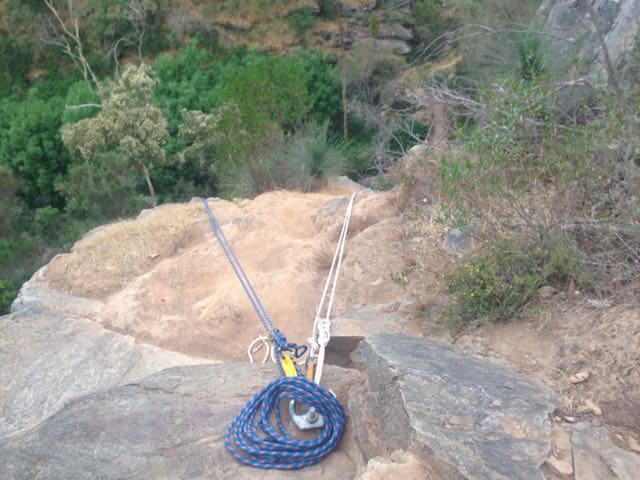
Boulder Bridge
At the bollard just to the hills side of the bridge at Boulder Bridge. Green rope is Digital Input, but also works on Balthazar. Red rope is Living on the Ceiling - carabiners were about two metres over the edge.
Far Crag
Resurrection on right, unknown On left
Bung

Ill equipped
Asgard
Just down from the seating area thingy near the entrance.
Lord's Prayer on left, Barad Dur middle, unknown on right

At the hills end of Far Crag.
Sheoak corner